Pricing Management: Sale Price
Eva offers a powerful feature that lets you easily set Sales Prices for your SKUs. You can create multiple pricing rules with specific date and time ranges, enabling you to run targeted promotions that boost sales and maximize profits.
How to Set a Sale Price?
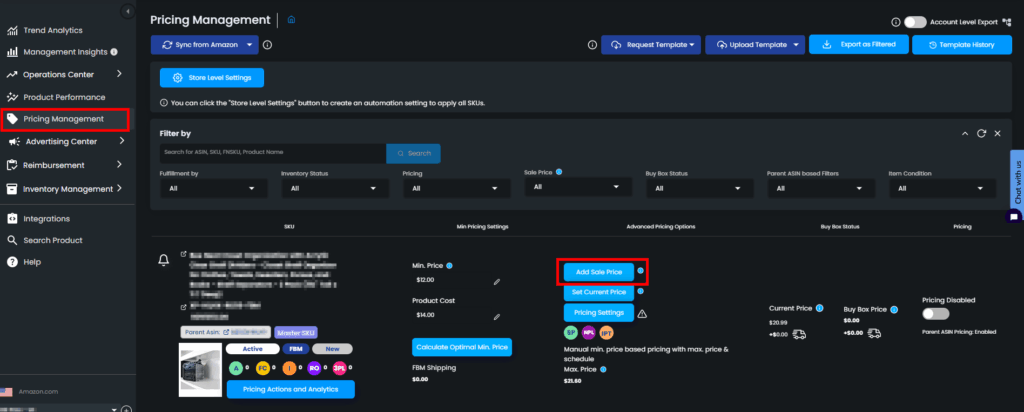
Step 1: Visit the Pricing Management tab on the left panel.
Step 2: Click on the button called Add Sale Price.
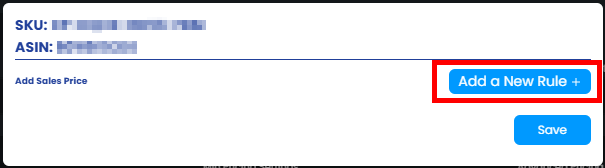
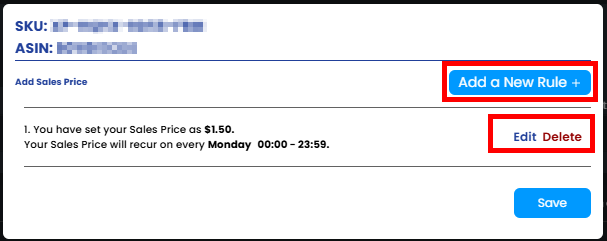
Step 3: Click on the button, to Add a New Rule.
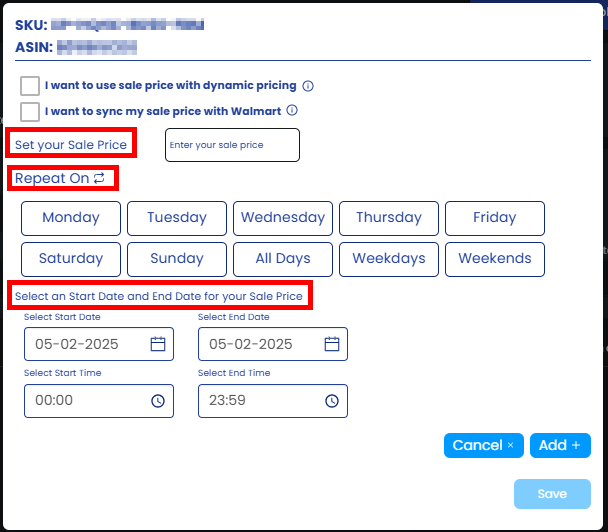
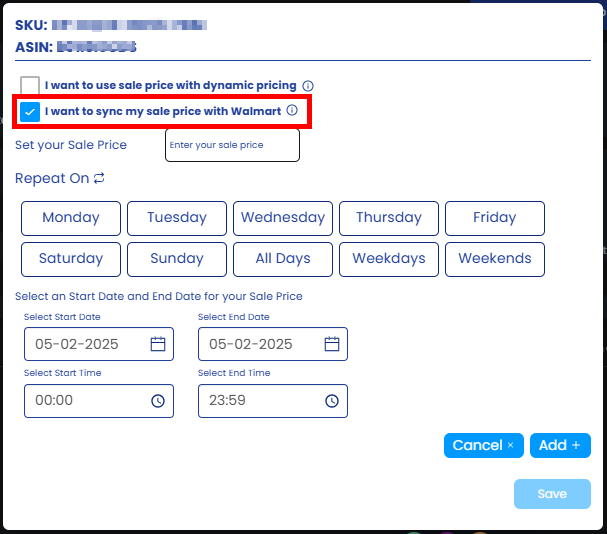
Step 4: Set a Sale Price accordingly to your Sale.
Step 5: You can select the date ranges and the time interval you want for your Sale Price, or enter your required days and enter sale prices accordingly.
If you decide to use dynamic pricing, your sales price will be calculated from your current price. So, you don’t need to enter the sales price for this setting, we’ll be arranging the sales price for you! If you want to make a 10% discount, you can enter the cell as 10% and Eva will calculate your Sale Price from the Current Price.
Note: Make sure that your discounted price is in the range of your minimum-maximum price, otherwise Eva will not apply the discount.
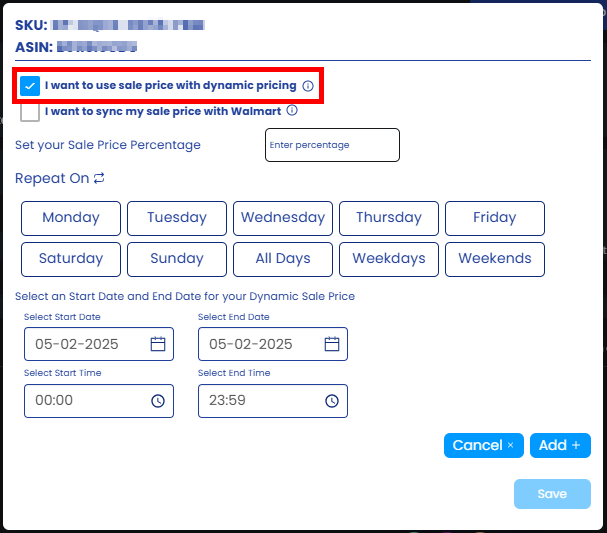
You can also sync your Sale Prices with Walmart. The prices you have added to Eva will be effective on your Walmart account if they are integrated with Eva.
You can add multiple Sale Prices as long as the rules are not overlapping! You can add, edit or delete the Sale Price rules accordingly to your business strategies as you desire.
Step 6: Click the Save button and your settings will be saved.
Remember! The sale price can only be between your min-max price range.
Once Eva’s pricing feed for the sale price is approved by Amazon, you will notice that prices on Amazon will be marked with a strike-through.
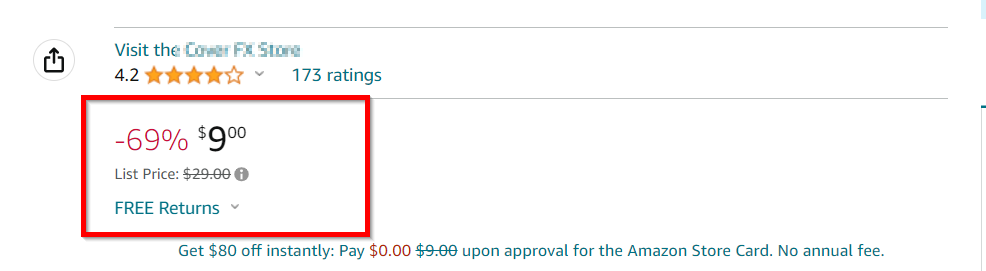
These strike-through prices adhere to Amazon’s conditions and eligibility criteria, which you can learn more about in their article on strike-through pricing.
“Ready to Elevate Your Success? Schedule a call with our experts today – simply click this link and choose a time that works best for you!”