How to Connect Your Vendor Account to Eva
Connecting your Vendor account to Eva can simply be done with just few steps. In this guide, we will show you these steps and make sure that you connect your Vendor account hassle-free.
Here’s How to Connect Your Vendor Account to Eva
Click the button below button to create your account. It will open in a new window.
Step 1: Select Vendor and click Next
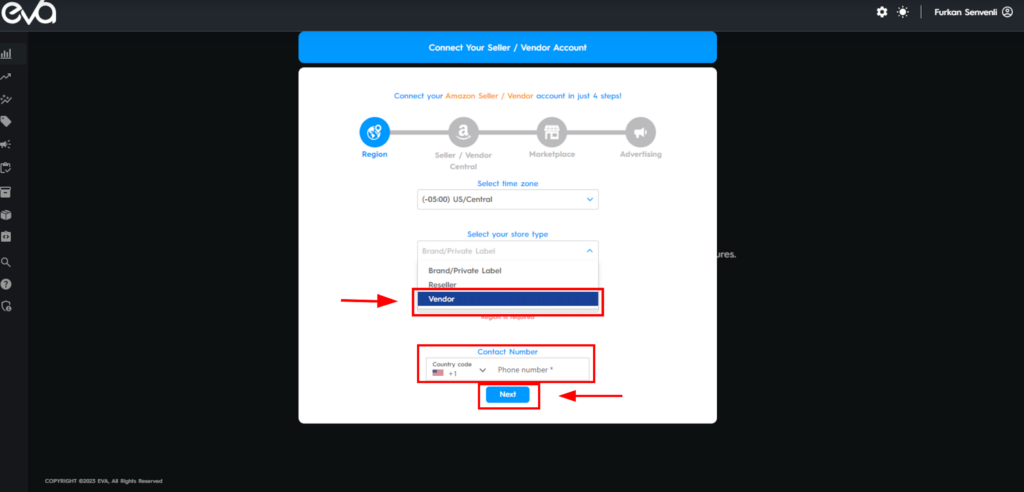
If you are a new Eva user and just connecting your store, you will automatically see the connection pop-up and you can choose Vendor on that section, enter the other required information and click on Next. Please see Figure 1.
Please ensure that you are using an Admin user for your Eva account when connecting your store. Additionally, make sure you are logged in to the correct marketplace with the root user of your Amazon account.
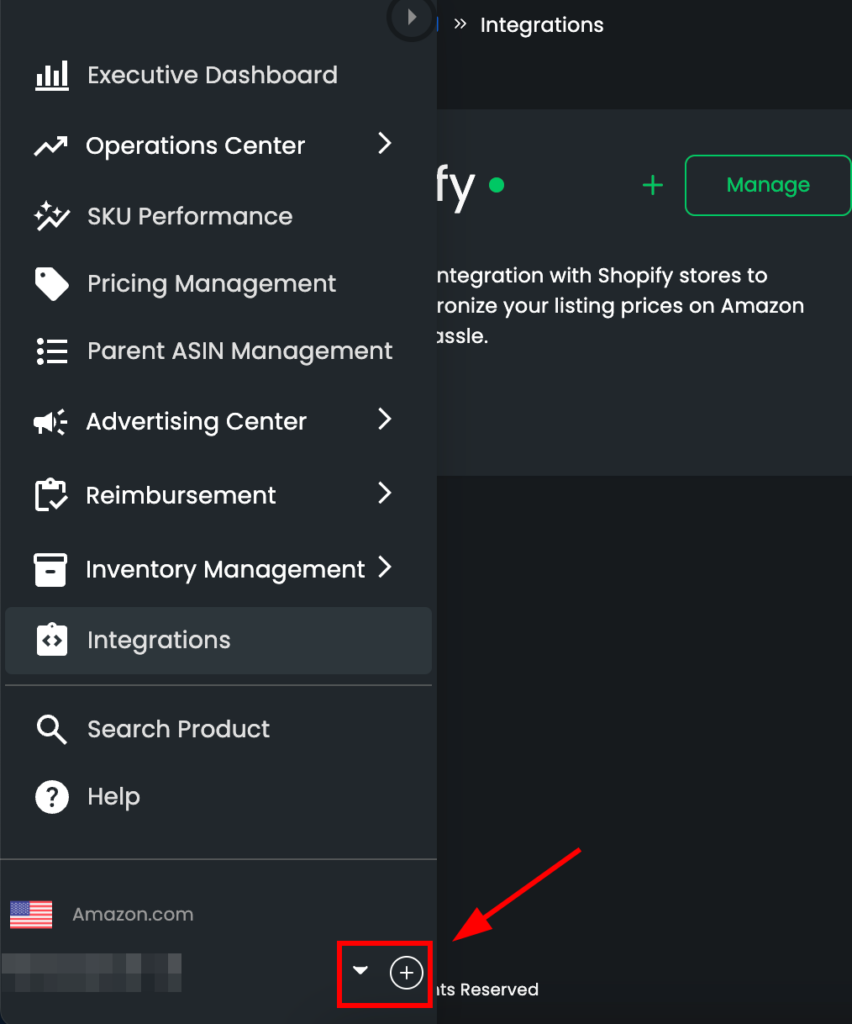
If you have already connected your store and wish to connect a Vendor account, please see Figure 2.
If you have already connected your store, you should click the plus “+” button on the left sidebar menu. This will open the pop-up in the first figure and you can follow the same steps.
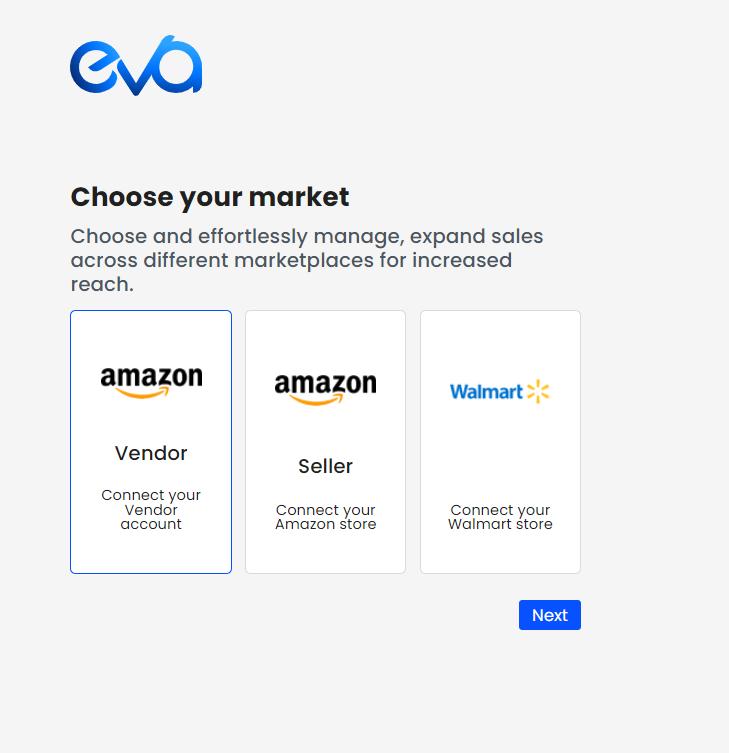
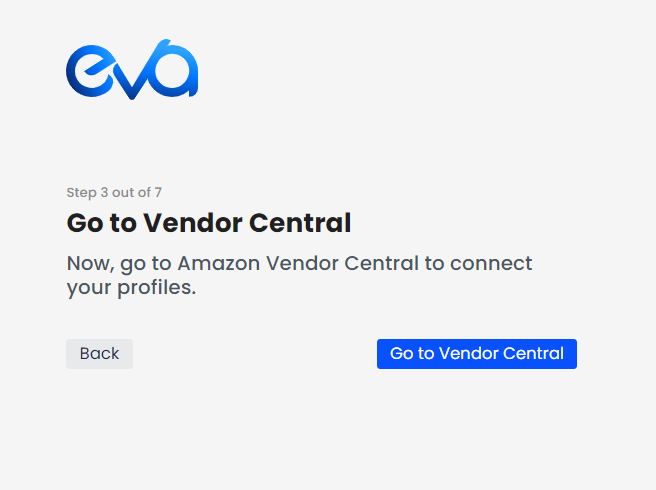
Step 2: Click on Go to Vendor Central
Clicking on this button will automatically direct you to the the page seen in Figure 3. Select the “Vendor” option and click the “Next” button to proceed.
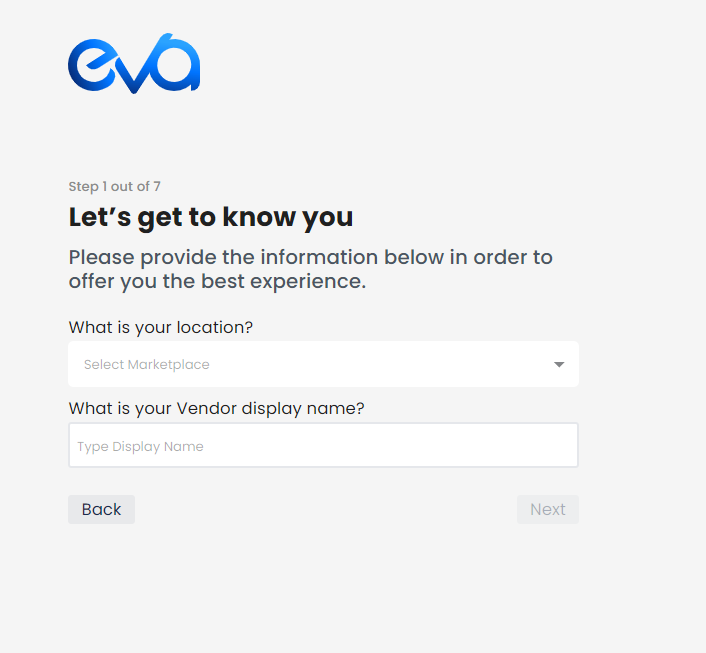
After this step, you will need to select your location and your Vendor display name. Please see Figure 4 below.
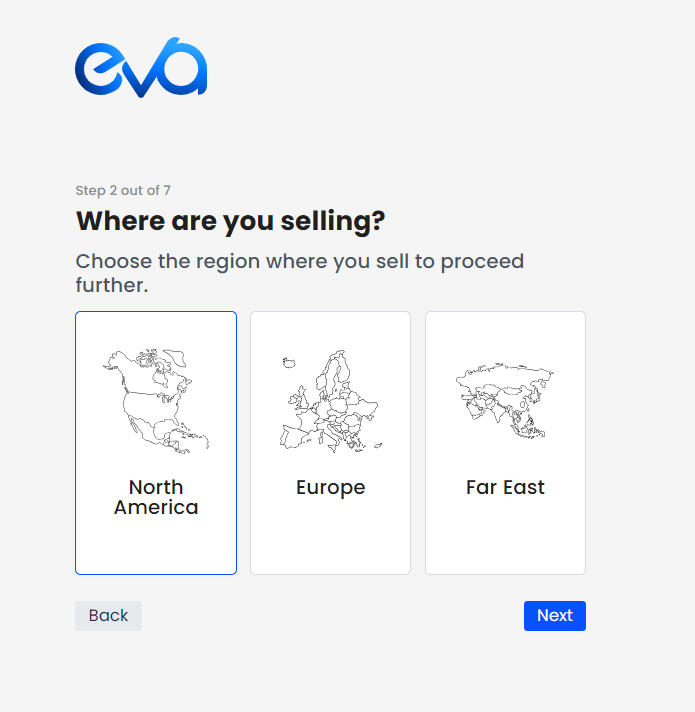
The next step is to select the region where you are selling your products and then proceed to Amazon Vendor Central. Please see Figure 5 and 6.
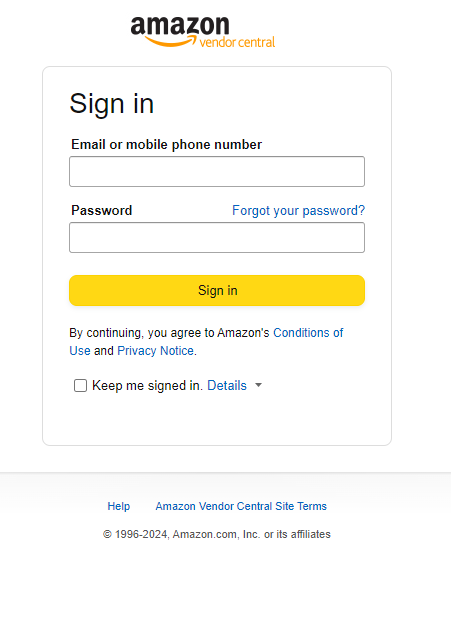
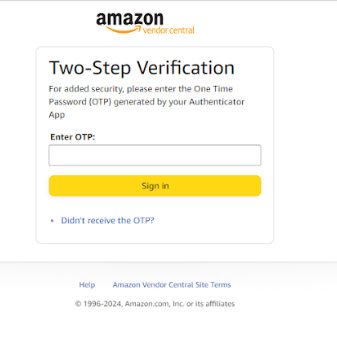
Once you log into Vendor Central you will need to go through the two-step verification process for security reasons. Please see Figures 7 and 8.
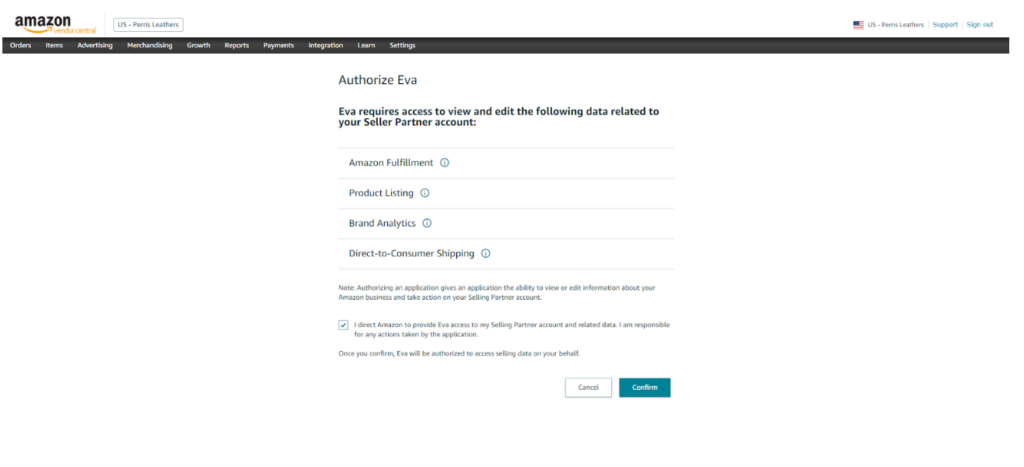
On your Vendor Central page, tick the box and click on Confirm to authorize access to Eva. Please see Figure 9
After clicking on the “Confirm” button, you will be redirected back to Eva page and see the message that says your account is successfully linked. Please see Figure 9.
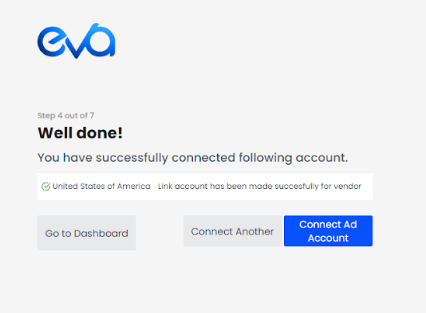
Now, your Vendor account is linked with Eva.
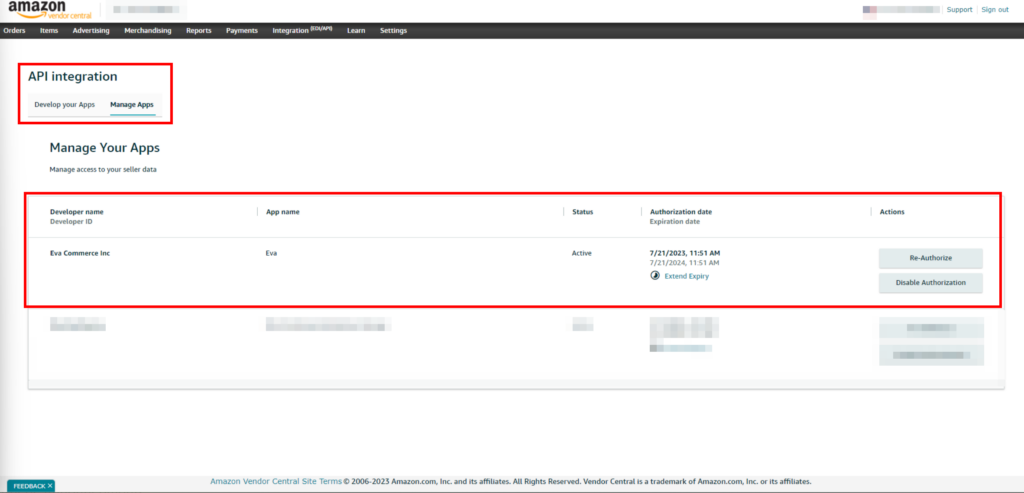
NOTE: You can extend the expiry date on the API Integrations section. Please see Figure 10.
Ready to Elevate Your Success? Book a call with our experts—just enter your email below to get started!