How to Add Additional Stores to Your Eva Account
If you possess multiple stores, you can seamlessly add them to your Eva account by following the steps below:
Please ensure that you are using an Admin user for your Eva account when connecting your store. Additionally, make sure you are logged in to the correct marketplace with the root user of your Amazon Seller Central account.
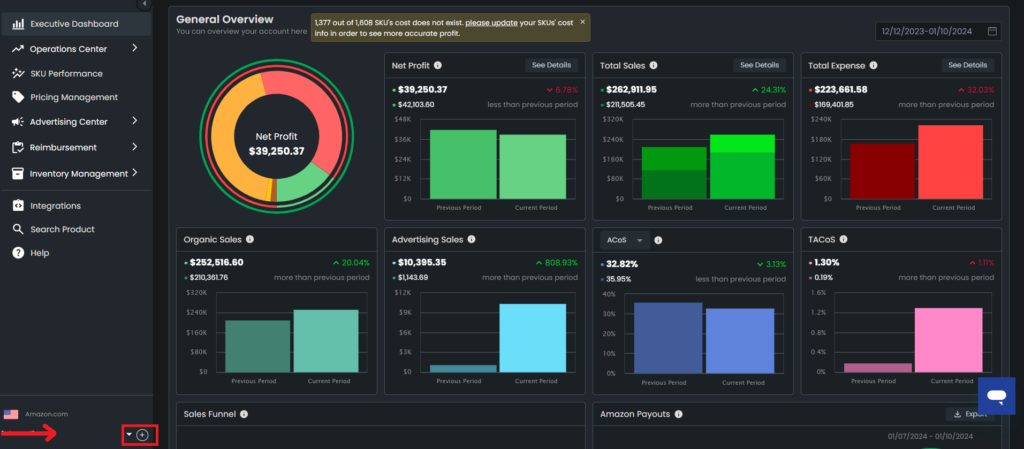
To begin, log into your Eva account using your credentials. Once logged in, access the Eva Control Panel, and there, you’ll find the plus sign icon positioned at the bottom. For visual reference, please consult Figure 1 below.
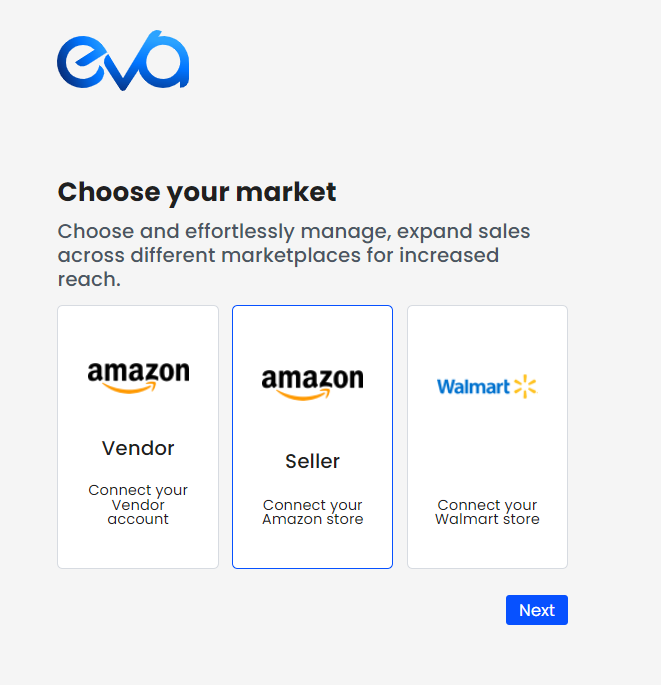
Upon reaching clicking the sign, proceed to select the market your store is in. For this article we will be covering the Amazon Seller Account. Select the “Seller” option and click “Next“. See Figure 2 for reference.
Note: To reach the help page on connecting Vendor and Walmart accounts, please click the respective buttons below:
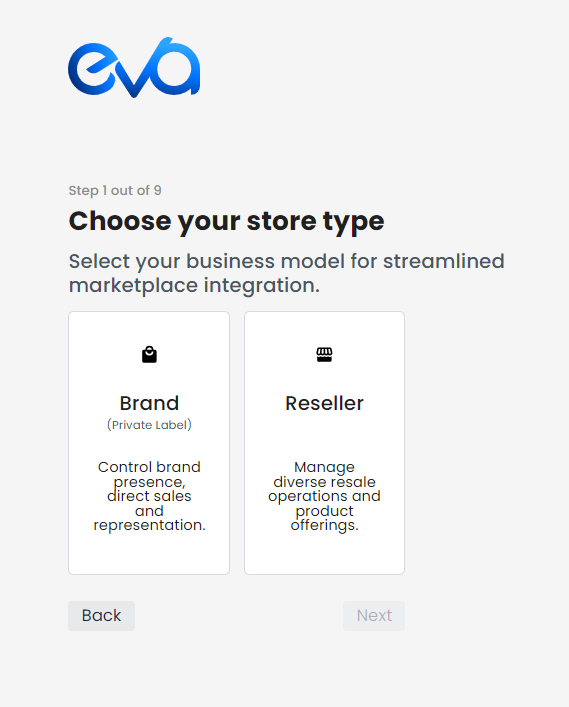
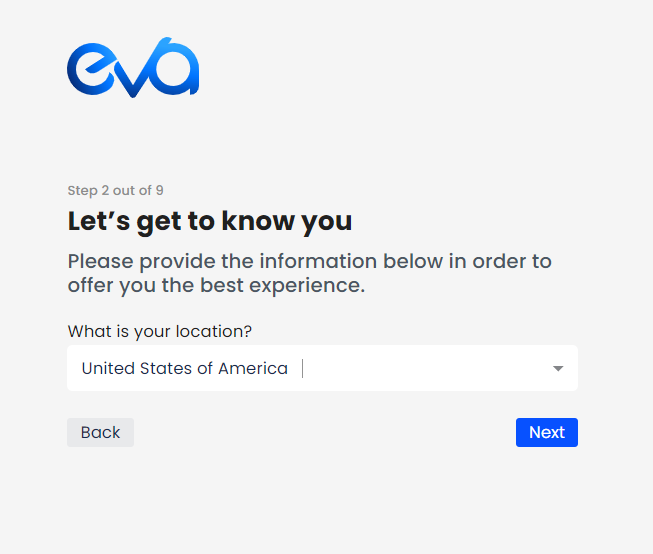
If you are a private label, select the “Brand” option and if you are a reseller select “Reseller” and click the “Next” button. In the following windows you will select your location and the region where you are selling to. Please see Figures 4 and 5.
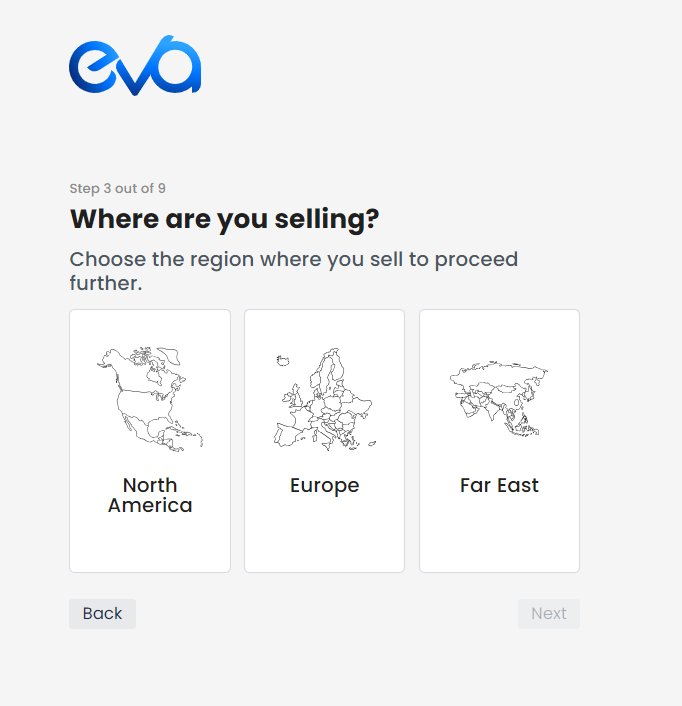
Upon completing these steps, proceed to log in to your Amazon Seller Central and grant access to Eva. Refer to Figures 6 and 7 below for visual guidance.
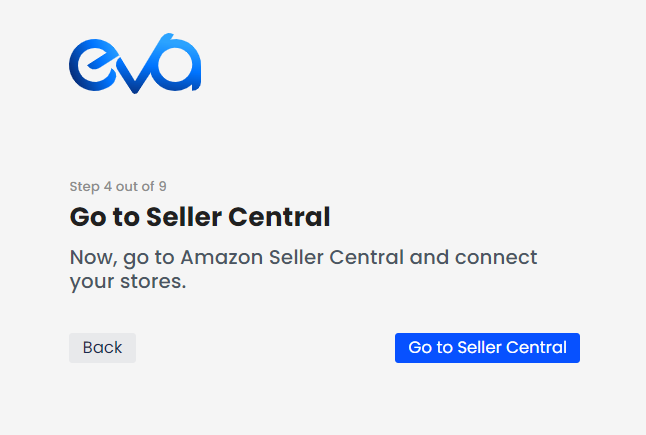

Upon ticking the agreement button and selecting “Login to Eva now,” you will be automatically redirected to Eva platform.
As a quick reminder, repeat this process for each store you want to connect to Eva.
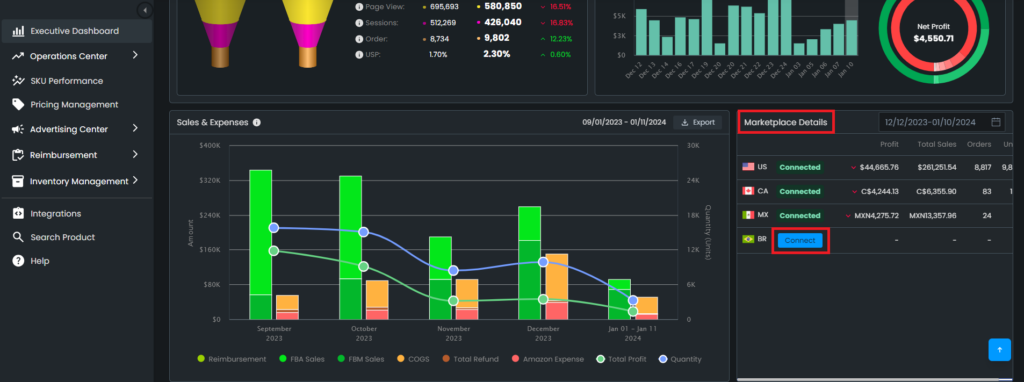
If you have already connected one of your stores and have an additional store(s) in the same region, you can connect your additional store(s) easily on the Marketplace Details card by following the steps below. Please see Figure 8.
“Ready to Elevate Your Success? Schedule a call with our experts today – simply click this link and choose a time that works best for you!”
