Return Management in 3PL
As much as we would like to minimize them, returns are inevitable in e-commerce. That is why effective return management is a crucial part of your business.
As part of our Returns Management service we receive and inspect your returned items and separate damaged ones from those in good condition. We send the ones in good condition to Amazon FBA warehouse after re-packing and re-labeling; and the damaged items are repaired, if repair is not possible they are disposed of or donated in line with your preferences.
Please note that your token needs to be valid to be able to see your items here, if not you will see the warnings marked in Figure 1.
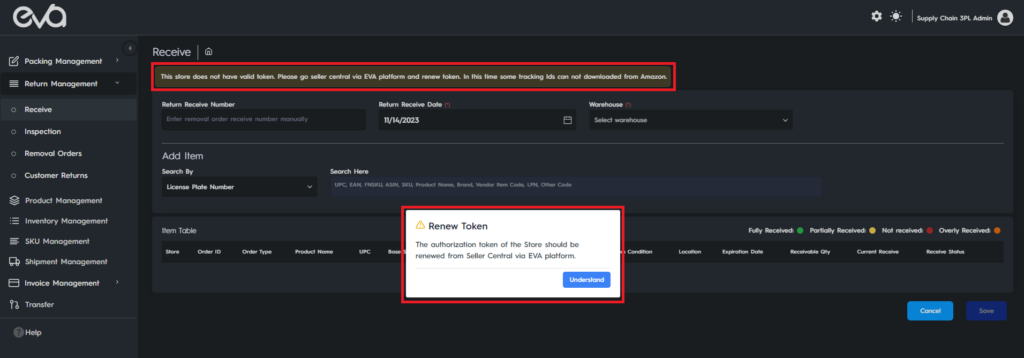
If you need help with how to renew your token click the button below to reach the related help page.
Receiving Returns
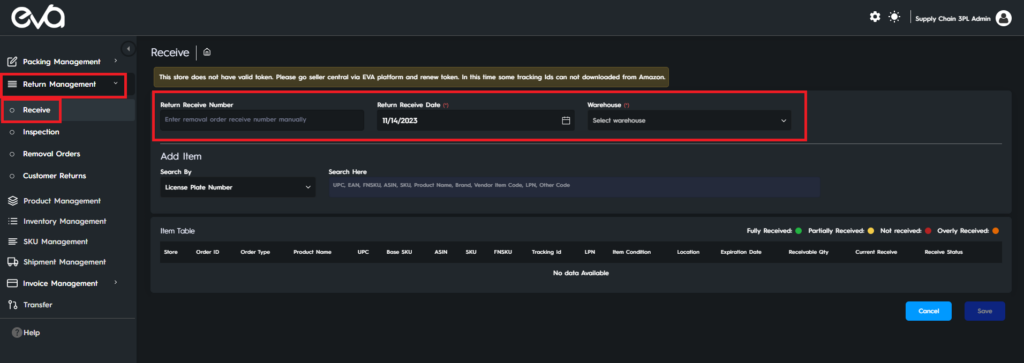
You can receive your returned items on our 3PL platform under by clicking on Return Management then clicking on Receive as in Figure 2. You need to enter a Return Receive Number to identify the return being received, if you do not the system will generate one automatically. Then you need to enter Return Receive Date, and select the Warehouse as seen in Figure 2.
After selecting date and warehouse returned items can be added from Add Item section. You can search the item to be added by its Tracking Number or License Plate Number (LPN). You can also use the search bar to search items by their UPC, EAN, FNSKU, ASIN, SKU, Product Name, Brand, Vendor Item Code, LPN, or any other code.
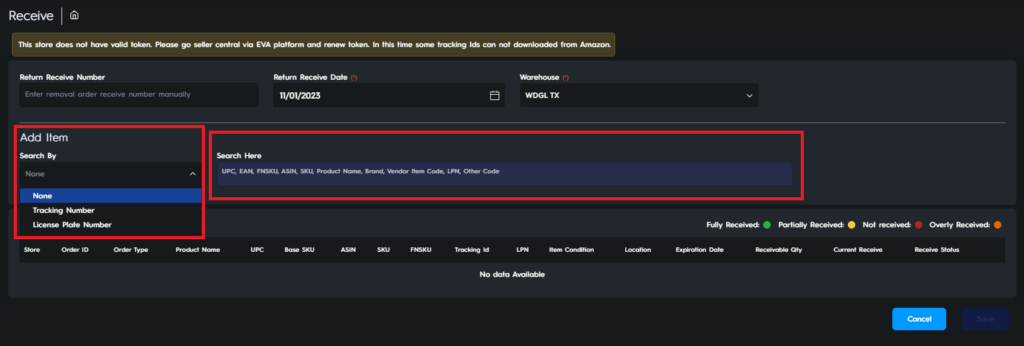
Important Note: Items searched by Tracking Number can be received as Box or Pallet. Within boxes there can be more than one item. This has to be checked later at the inspection stage. When searching by Tracking Number or License Plate Number, the codes must be entered in full and correctly. For more information regarding the inspection process, click the button below:
If the received item is added by its Tracking Number you are directed to the removal orders page. If it is added by its License Plate Number, you are directed to the customer return page. When receiving returns with Tracking Number or LPN, they must be entered in full and without any errors. Once your store is connected to Eva, customer return and removal order data are pulled from Amazon for the last 12 months.
Removal Orders
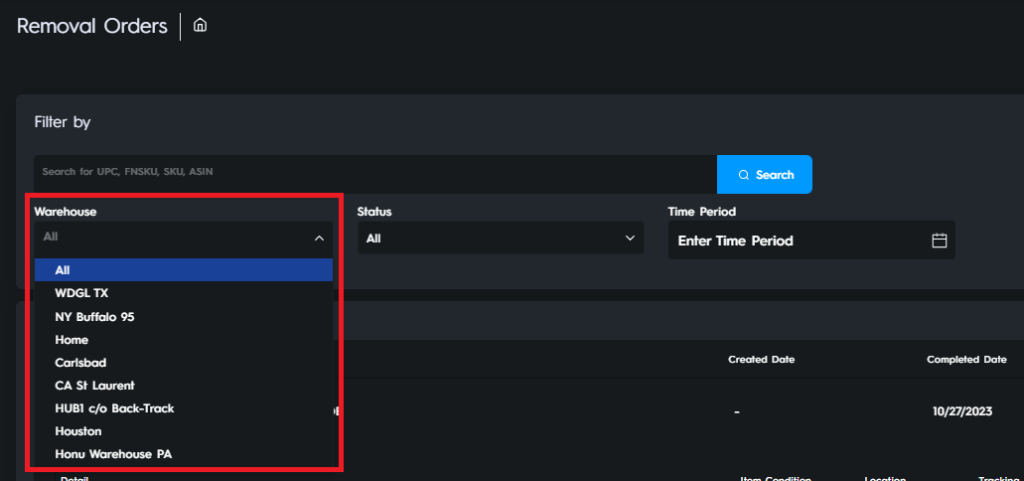
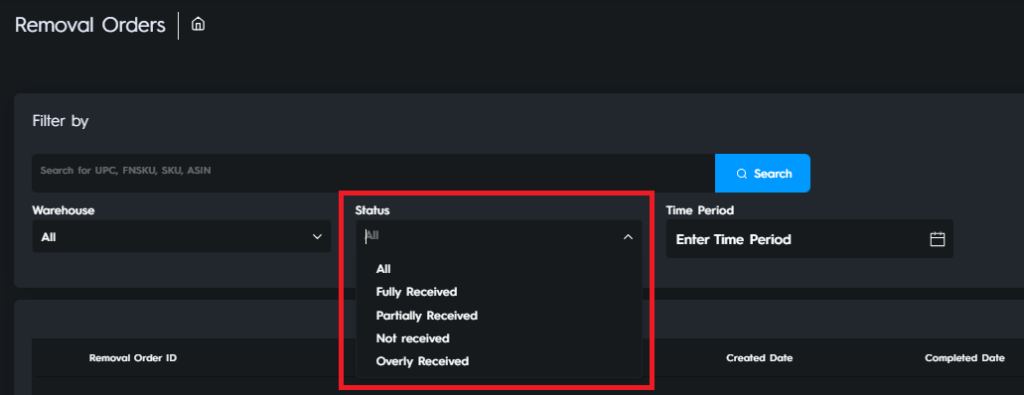
You can see your removal orders by clicking on Return Management and then Removal Orders on the left menu. Using the Filter By section you can search your returns using UPC, FNSKU, SKU, or ASIN. You can also filter returns by Warehouse, Status (Fully Received, Partially Received, Not Received, Overly Received) and Time Period as seen in Figure 4,5 and 6.
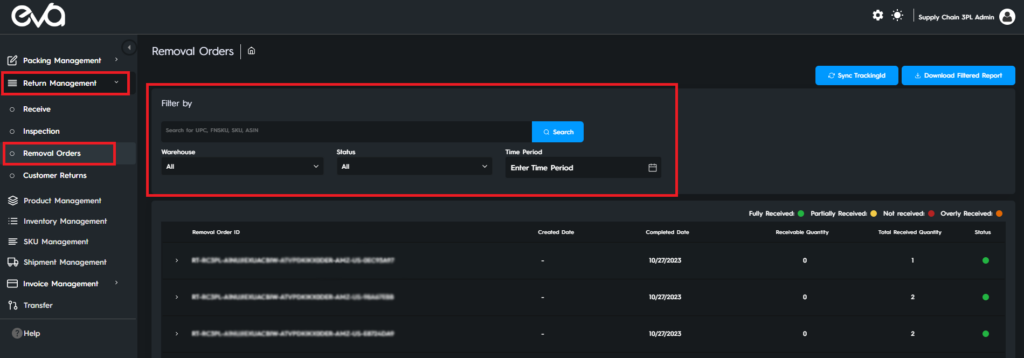
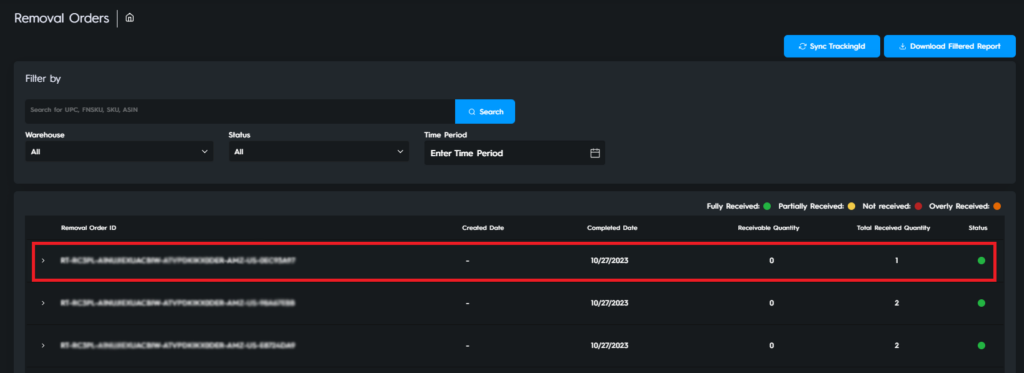
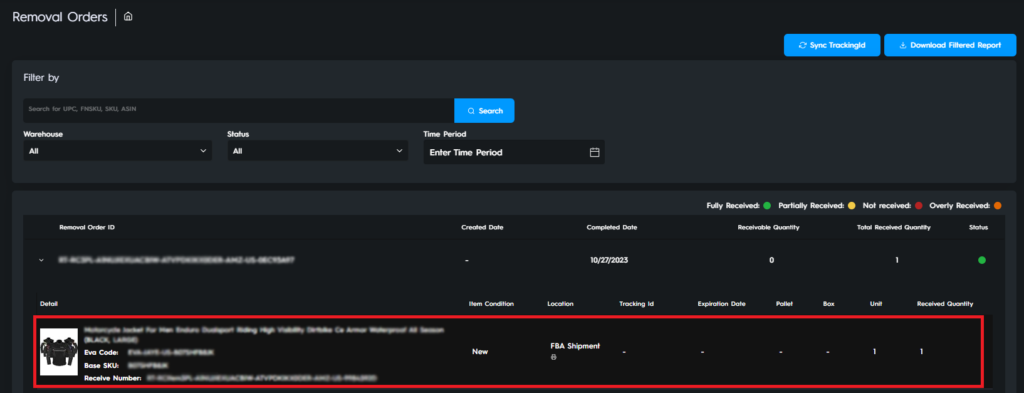
Below the screen, the removal orders are listed. Here you can see information regarding Created Date, Completed Date, Receivable Quantity, Total Received Quantity and Status as seen in Figure 7. When you click on any removal order ID, you can see details regarding returned SKU such as Item Condition, Location, Tracking Id, Expiration Date, Received Quantity as seen in Figure 8.
All the data in this section is also exportable, you can download a report of all your removal orders using the Download Filtered Report button on the upper right corner of the screen and you can Sync your Tracking Ids using the Sync Tracking Id button as seen in Figure 9 below.

Customer Returns
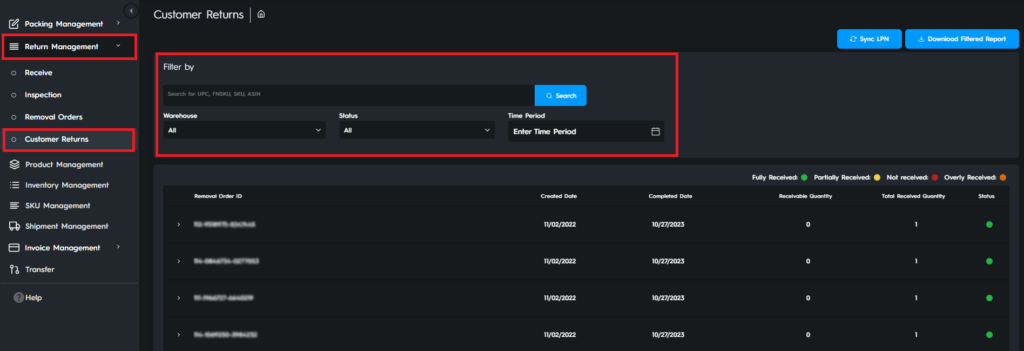
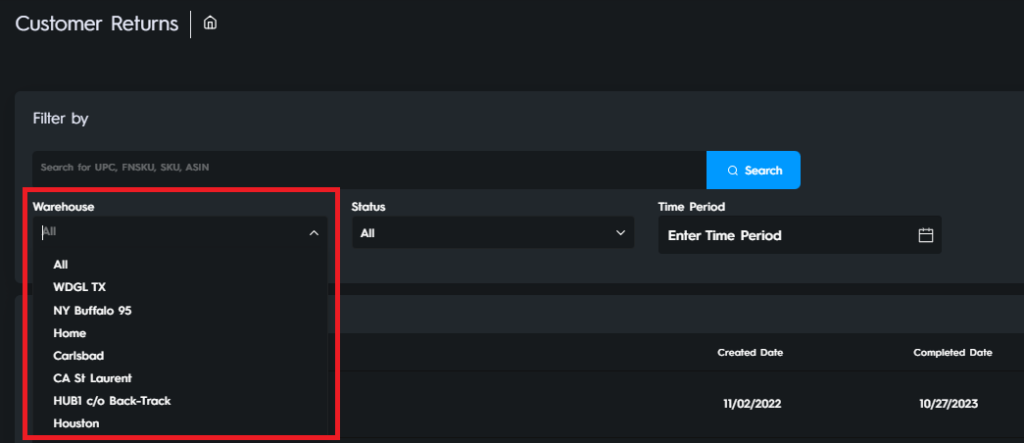
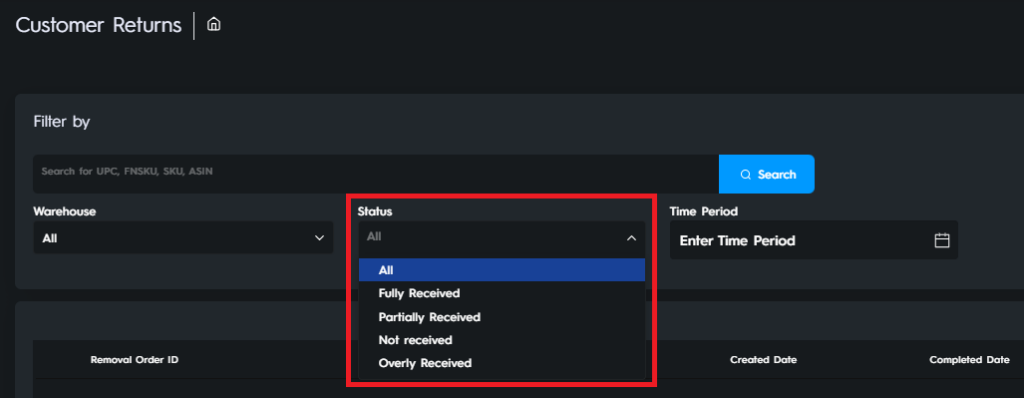
Customer Returns menu under Return Management allows you to monitor the same processes as Removal Orders menu, but using LPN instead of Tracking Id. Using the Filter By section you can search your returns using UPC, FNSKU, SKU, or ASIN. You can also filter returns by Warehouse, Status (Fully Received, Partially Received, Not Received, Overly Received) and Time Period as seen in Figure 10,11 and 12.
Below the screen, the removal orders are listed. Here you can see information regarding Created Date, Completed Date, Receivable Quantity, Total Received Quantity and Status as seen in Figure 13. When you click on any removal order ID, you can see details regarding returned SKU such as LPN, Item Condition, Location, Tracking Id, Expiration Date, Received Quantity as seen in Figure 14.
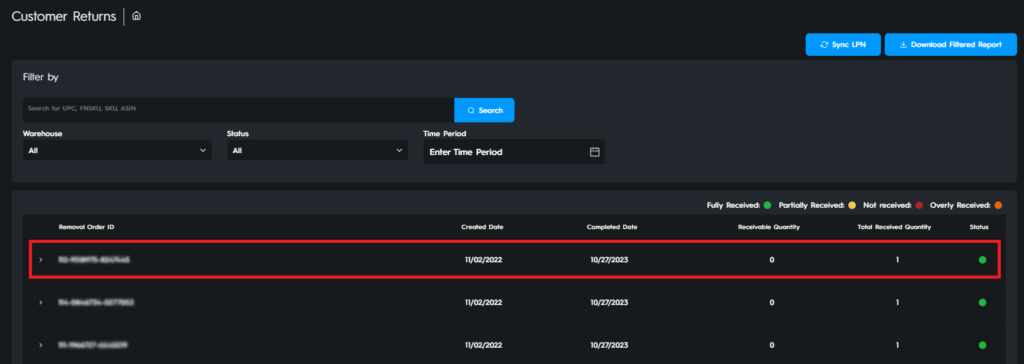

All the data in this section is also exportable, you can download a report of all your removal orders using the Download Filtered Report button on the upper right corner of the screen and you can Sync your LPNs using the Sync LPN button as seen in Figure 15 below.
