How to Use the Mappings Feature
What is Mappings for?
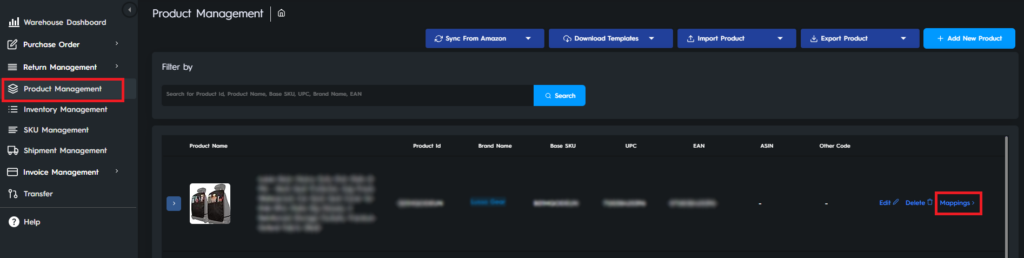
You might want to add Mappings to a Master product to facilitate efficient tracking of various SKUs that are tied to the same ASIN in the logistics process. To use the mapping feature, click on Product Management on the left menu and click on Mappings as shown in Figure 1.
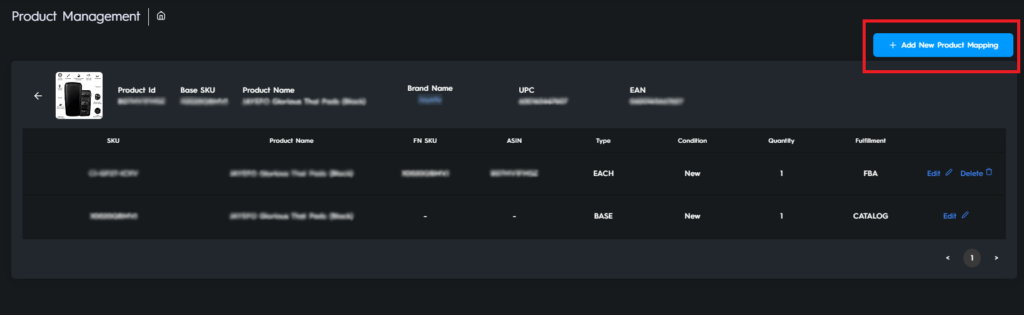
Click on Add New Product Mapping on the upper right corner of the screen
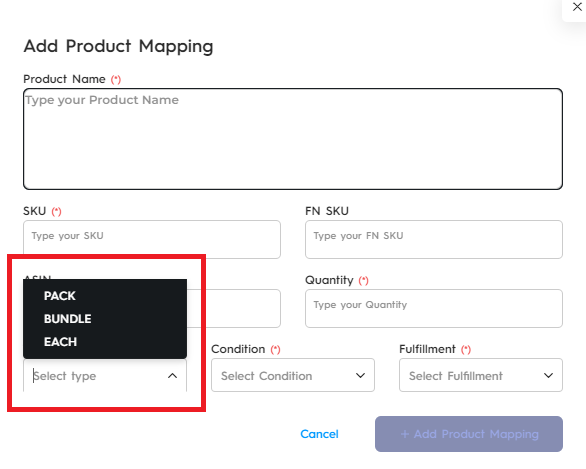
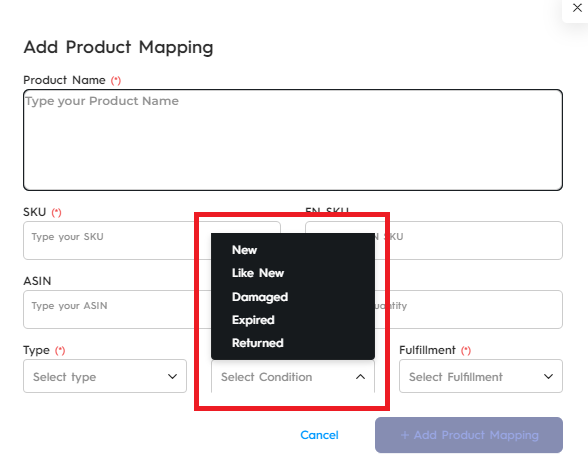
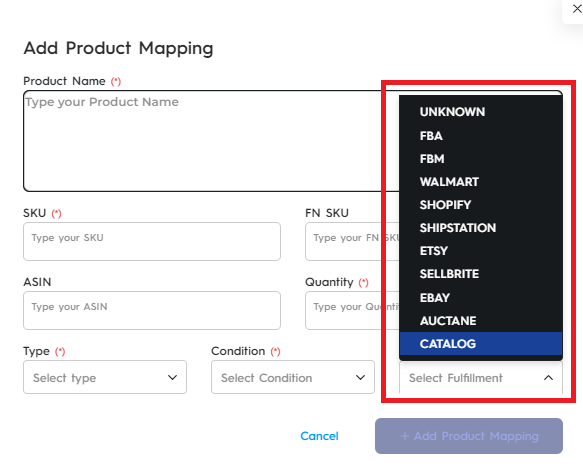
You will se the Add Product Mapping window in Figure 3. Enter your Product name, SKU, FNSKU, ASIN, Quantity, Type (pack, bundle, each), Condition (new, like new, damaged, expired, returned), Fulfillment type (FBA, FBM, Walmart etc.).
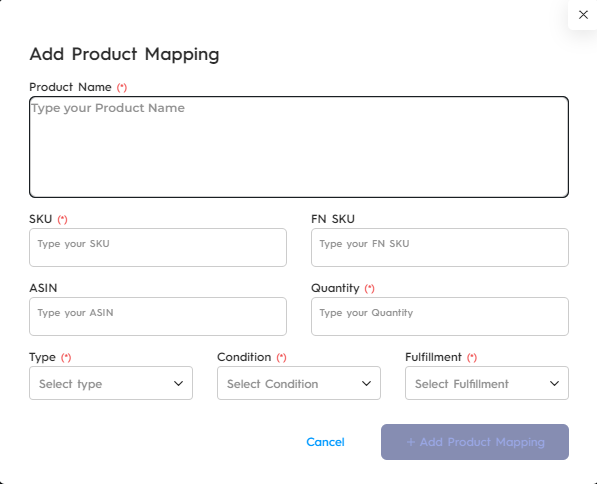
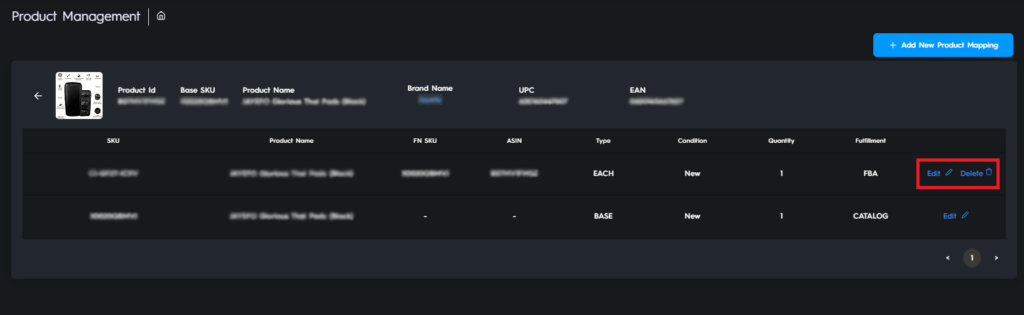
When you are finished press Add Product Mapping button at the bottom right. You will be able to see your product mappings under the Master Product. You can edit your mapping using the edit button on the right, for example if you need to change the condition from new to damaged.
You can also add and edit mappings using templates. You can download the empty templates from Download Templates, fill and import them from Import Product. And you can export your templates using Export Product buttons as seen in Figures 8, 9, and 10 below


