How To Create An Account & Connect Your Store(s) To Eva
Creating an account with Eva is simple. The Eva team as well as our customers use Eva to make managing storefronts easier.
In this guide, you’ll learn the 3 simple steps you should follow to set up your account on the Eva platform & connect your store(s). Below you will learn:
1. How To Create Your Eva Account
2. How To Connect Your Store(s) To Eva
3. How To Connect Your Advertising Account To Eva
Let’s get started – below is everything you need to know to create your account, connect your store(s) & advertising account!
Here’s How To Set Up An Eva Account
Click the button below button to create your account. It will open in a new window.
The button above redirects you to https://iapp.eva.guru/welcome to create an account.
Step 1: Create An Eva Account
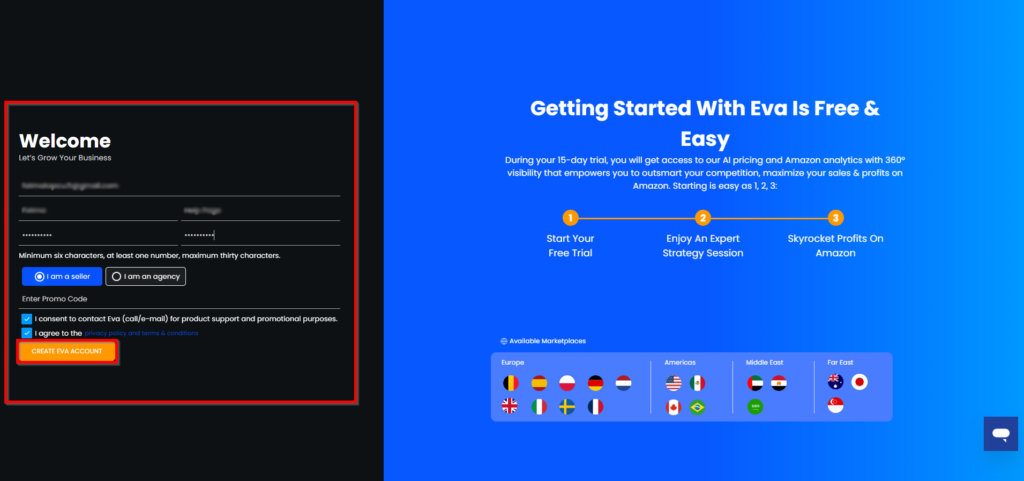
On the screen below, you will need to fill out the required information fields, select the ‘I am a seller’ option & click Create Eva Account to get started. See Figure 1.
NOTE: If you have a promo code or special offer, please enter during the registration process.
After you create your Eva account, then you must verify your account from the email address you used to register with Eva. See Step 2
Step 2: Verify Your Email
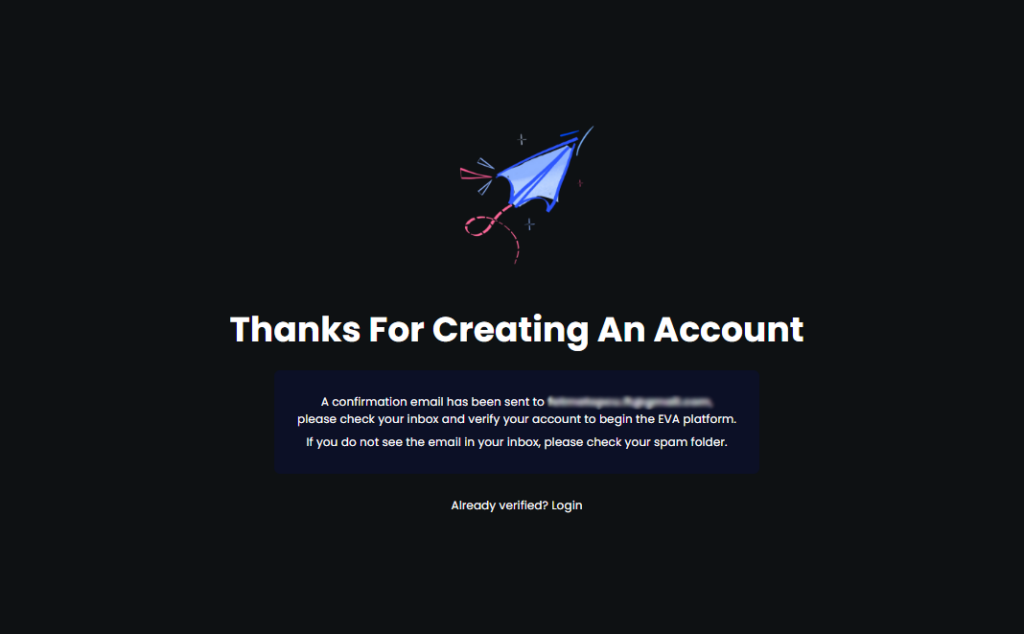
You will be redirected to a confirmation page on a successful submission that prompts you to verify your account. Please check the email that you entered in Step 1 to verify your email. See Figure 2.
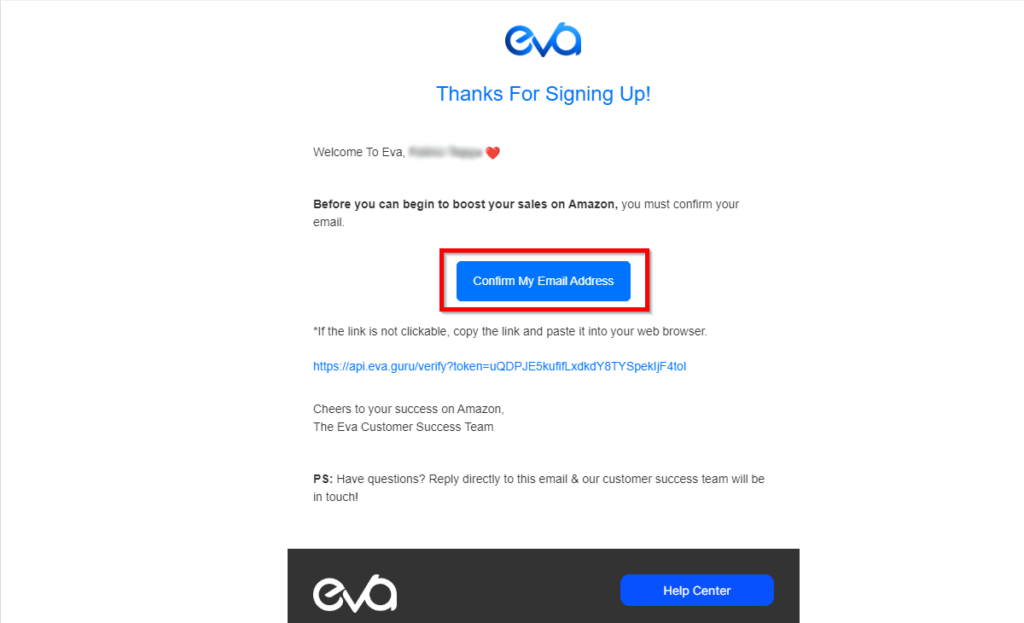
You will receive a verification email that will look like the one you see below, all you need to click “Confirm My Email Address“. See Figure 3.
Step 3: Log In To Your Eva Account
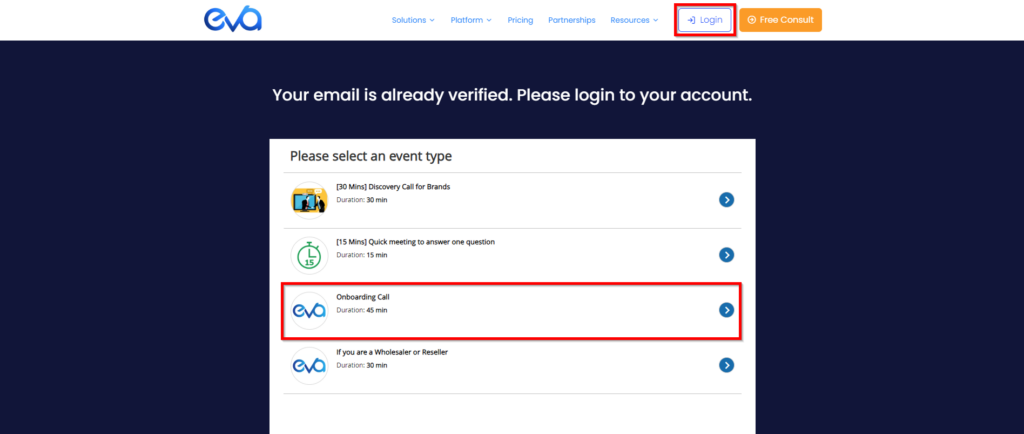
Once you the “Confirm My Email Address” button, you will be redirected to a thank page informing you of successful account creation. Click the “Login” button, and from here you will be able to access your newly created Eva account! See Figure 4.
Alternatively, you can also go to https://iapp.eva.guru/login and log into your account. Please don’t forget to book an onboarding platform with our Customer Success Team so that our team can walk you through the platform and discuss how Eva can benefit your business.
Accessing Your Eva Account From The Website
If you would like to access your account from the Eva website, head on over to https://eva.guru/.
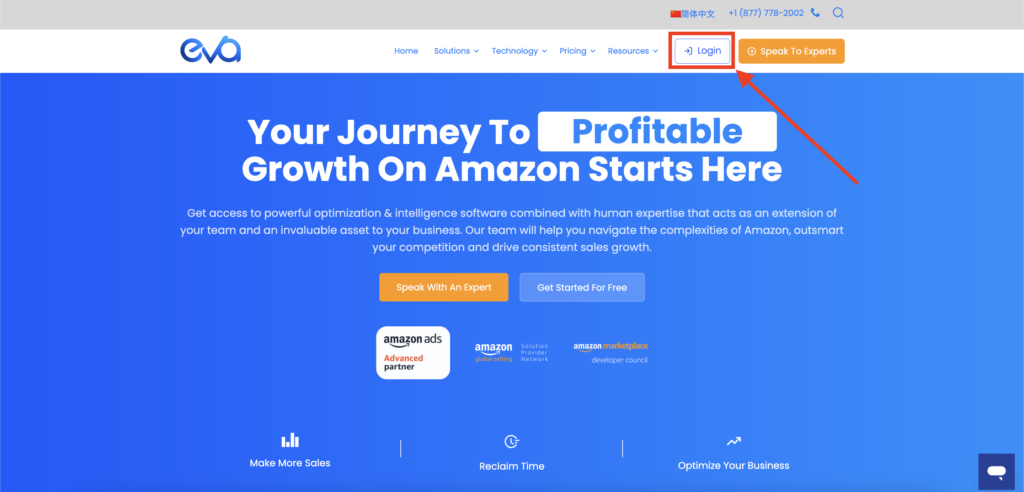
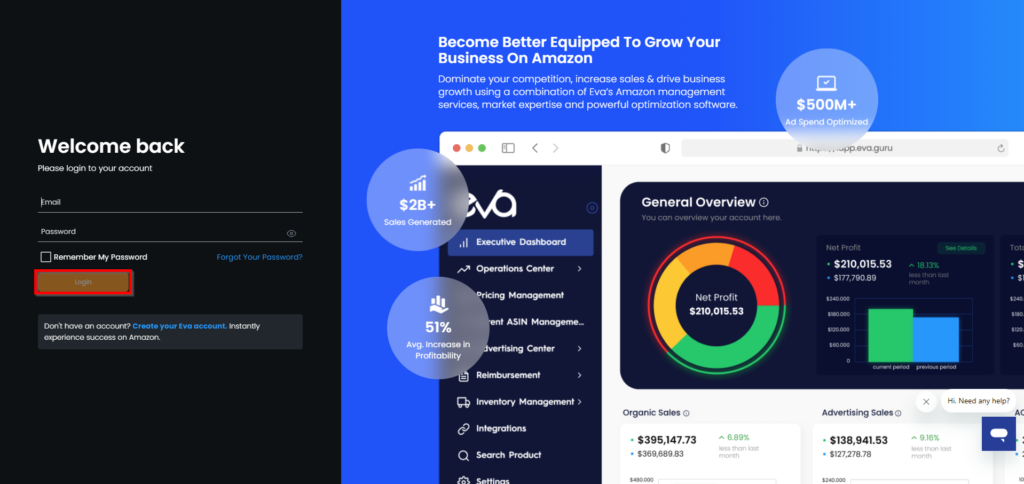
If you click the “Login” button in the navigation on the Eva website, you’ll be redirected to the Eva platform login page.
All you need to do is enter your verified Eva credentials and click the “Login” button. See Figure 6.
Here’s How To Connect Your Store(s) & Ad Account To Eva
Once you’ve logged into the Eva platform, you will need to connect your Amazon stores to Eva. In this section, we explore just how to do that.
Step 1: Choose Your Market
Here, you can choose different marketplaces such as Amazon Vendor, Amazon Seller, or Walmart. Confirm your selection and click ‘Next’. See Figure 7 below.

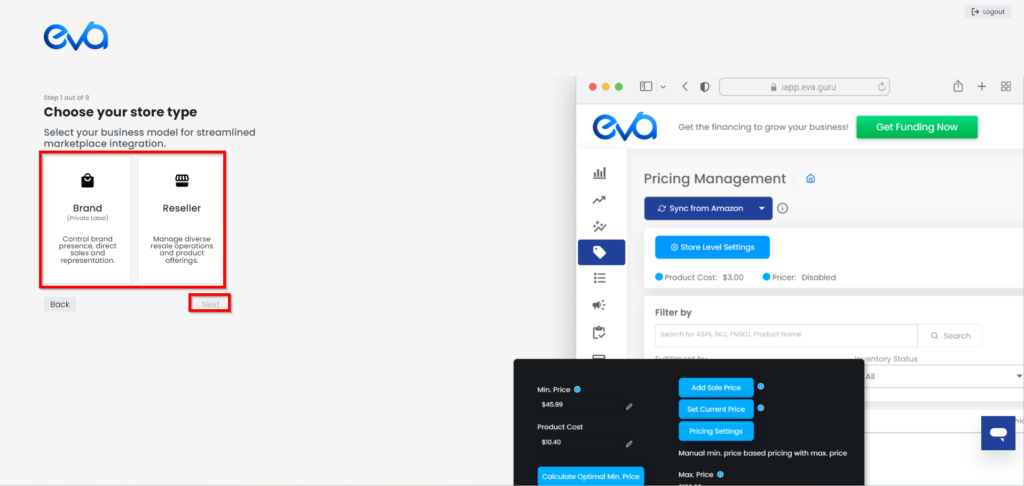
Step 2: Choose Your Store Type
Choose if you’re a brand or a reseller for streamlined marketplace integration. Then, click on Next. See Figure 8.
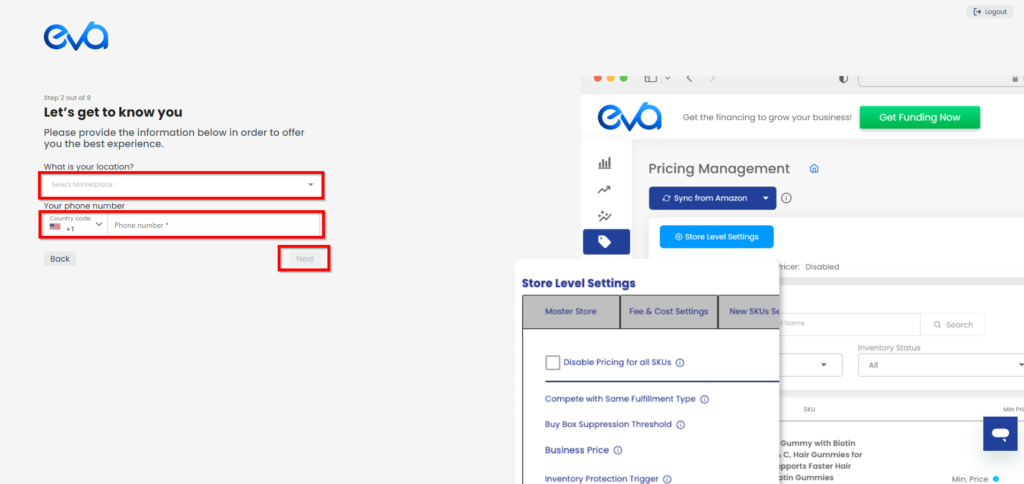
Step 3: Let’s Get to Know You
For the best experience, please choose your location from the dropdown menu and your phone number and click on Next. See Figure 9.
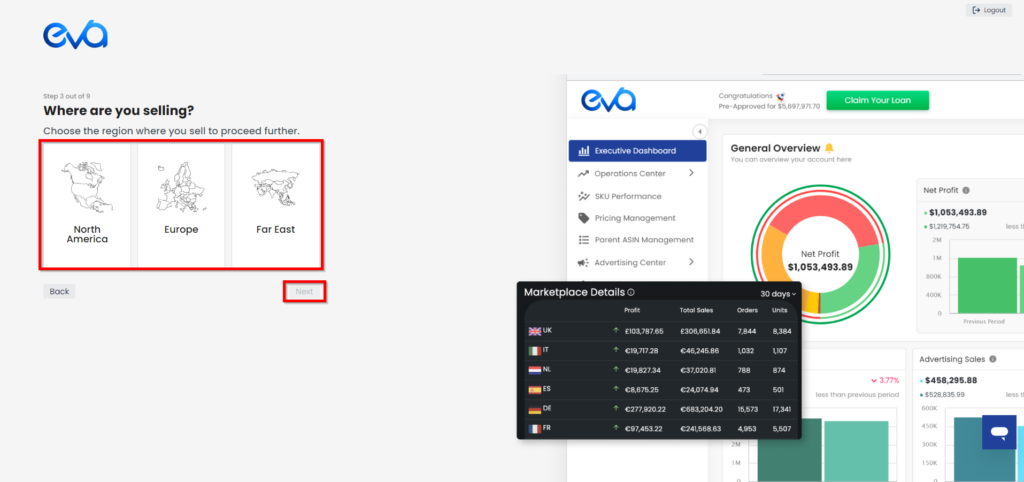
Step 4: Where Are You Selling?
Choose the region where you are selling and then click Next. See Figure 10.
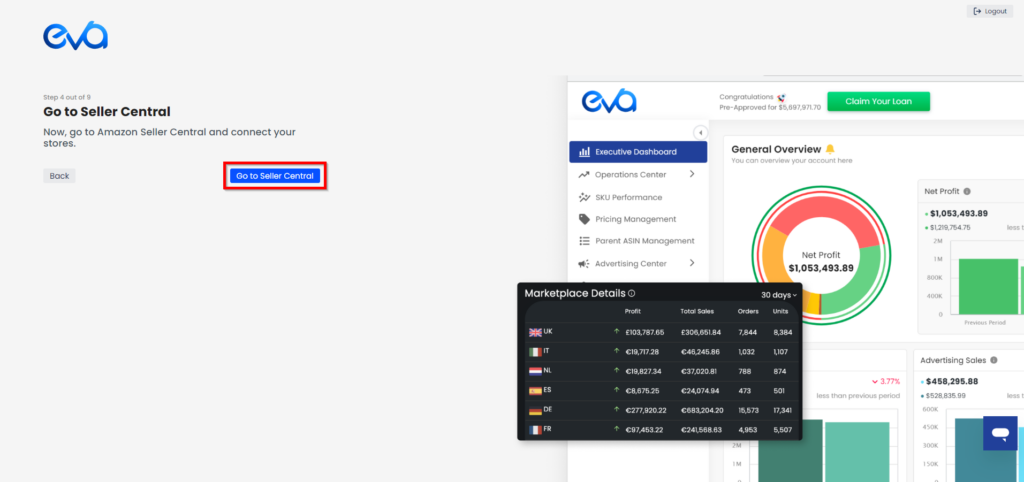
Step 5: Go to Seller Central
Now, it’s time to connect your store/s. When you click on Go to Seller Central, you will be automatically directed to Amazon. See Figure 11.
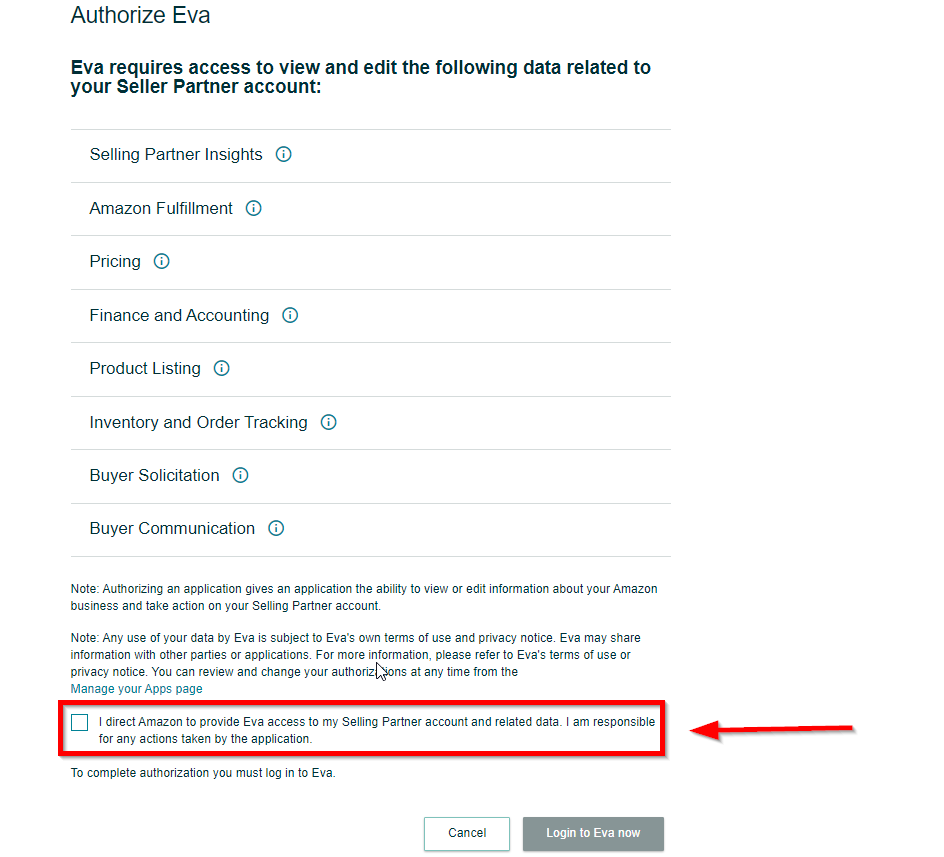
You will need to grant authorization to Eva to access your Seller Central store account data. See Figure 12.
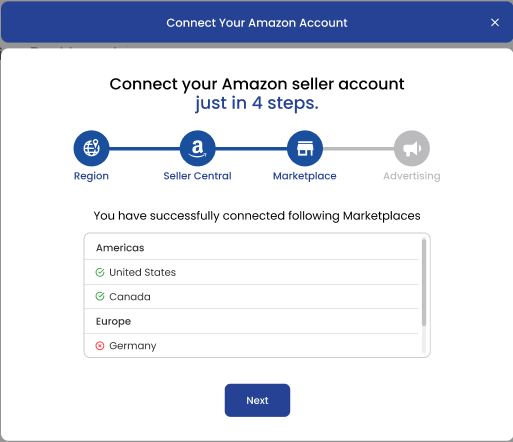
Step 6: Confirm Marketplace Details
You’ll be redirected back to the Eva platform. From here, you must select the available stores to connect to the Eva platform from the list.
Once you have confirmed your selection, click on the button “Connect” to complete the process.
Step 4: Connect Your Advertising Account(s)
The last step is to connect your Amazon Advertising account & sync the data with Eva. See Fig 11.
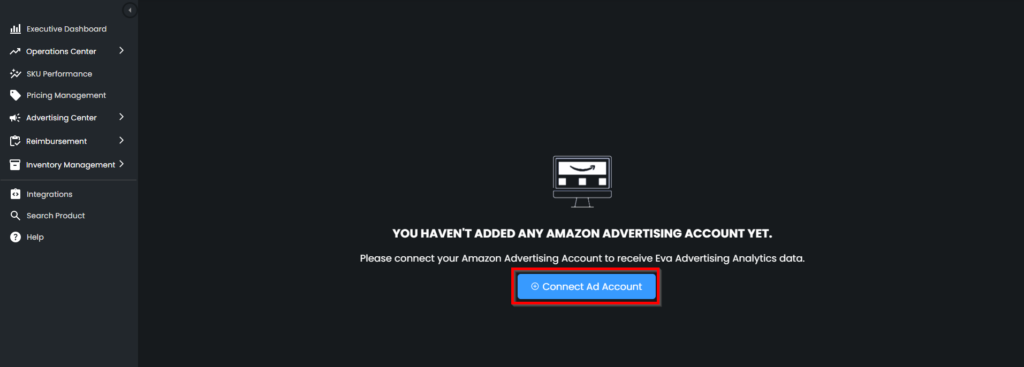
Once you connect your ad account, your data will be downloaded from Amazon Seller Central. This can take up to 6 hours depending on the size of your store and the number of listing ASINs.
Once the download is completed, you are now ready to start using Eva & unlocking the true potential for your customers!
NOTE: Make sure you take full advantage of complimentary onboarding and strategy calls with our Customer Success team, or reach out anytime 24/7/365 through in-app chat, email, or phone.
After reading & following the steps contained in this article, you have now successfully connected your stores & your advertising accounts: Welcome to Eva!
If you have any questions along the way, please be sure to email our Customer Success team or schedule a meeting!