How to Become a 3PL Partner
With our Four 3PL Fulfillment Centers in California, Texas, New York and Canada, more than 250,000 square foot available space, we offer the most cost-optimized 3PL service at 20-30% cheaper than other 3PL fulfillment providers and best shipping rates around for FedEx, UPS & USPS. With our service you can access real-time inventory visibility, monitor every stage of fulfillment, and track real time order processing and much more. Here’s how to get started!
In this guide, you’ll learn in 5 simple steps how to set up your 3PL account.
Step 1: Create an Eva Account if you don’t have one already
Create an account on Eva to get started. Make sure to verify your e-mail address and log in to your account. To create an account click the button below:
If you already have an account on Eva you can skip to Step 2. For more information on creating your account click here:
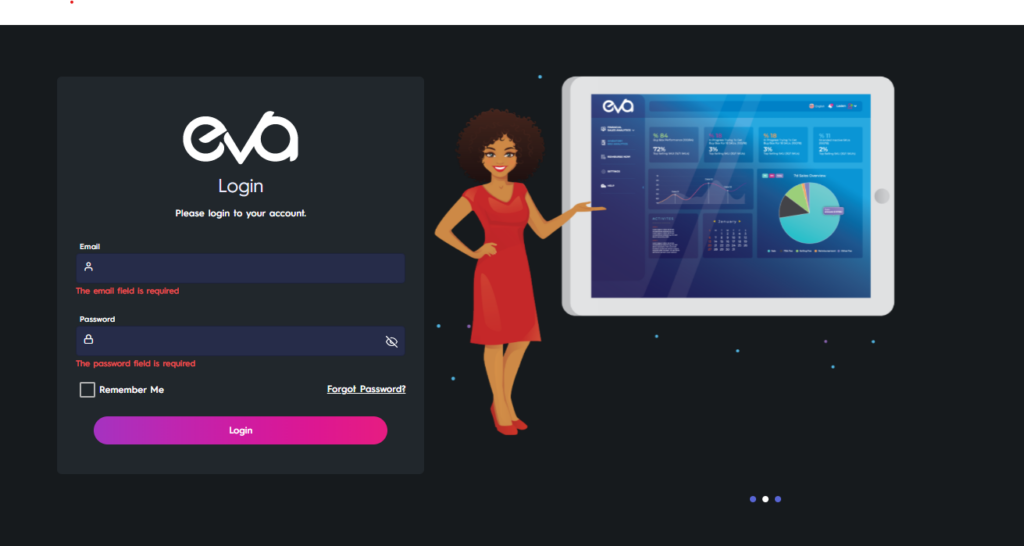
Step 2: Log in to your 3PL account
After your Eva account is set up, you are ready to log in to your 3PL account. Click the button below to be directed to the 3PL platform:
You will use the same e-mail address and password as on Eva.
At this point you need to sign the subscription contract to start using the platform.
Step 3: Add Your Warehouse
You can add your warehouse following the steps Settings > Configuration Setup > Warehouse > Add New Warehouse then filling the related information.

Please make sure to enter time zone and postal code correctly as it is crucial for correct shipment.
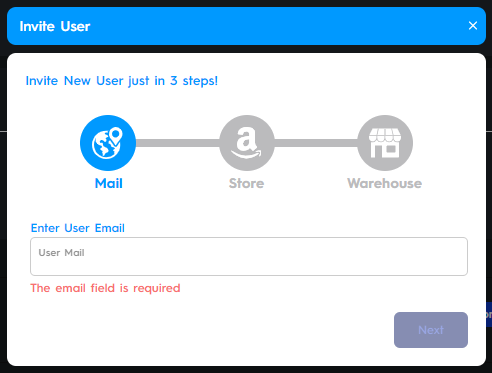
Step 4: Grant us Access to your Store
For the final step follow these steps Settings > Configuration Setup > User Management > Add New User

Enter the e-mail address of the user you want to add, then press Next
Choose your stores, then press Next

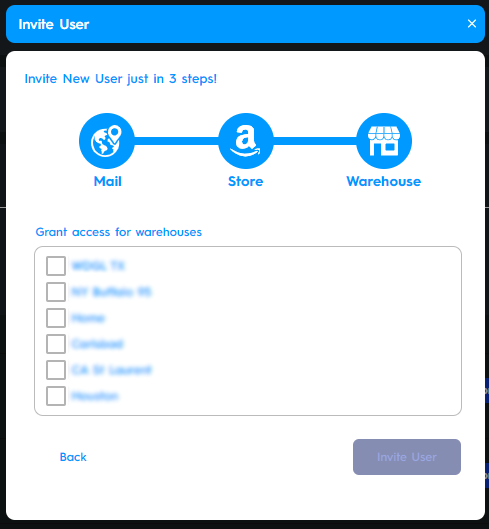
Choose the warehouses you will use, then press Invite User
Step 5: Connect your store to Eva and sync your data from Amazon
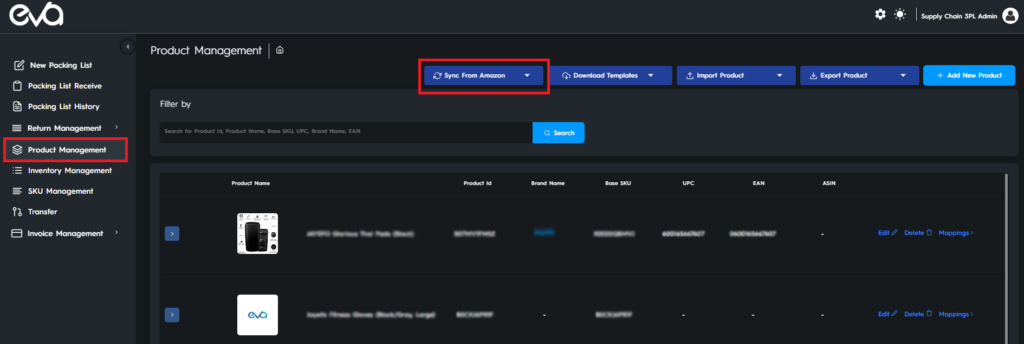
After you log in, you can sync your SKUs from Amazon by clicking on Product Management from the left menu and clicking the Sync from Amazon button. After the synchronization is complete you can find all your products.